Clean a drive completely
Clean all partitions and files of a drive
Cleaning a drive completely isn’t as simple as right clicking the drive on “This-PC” and going for Format. Sometimes the drive might be in multiple partitions or just corrupt overall.


Your drive isn’t broken at all, you can still clean it completely and recover this, here’s how.
NOTE:
This tutorial is focused on a Windows machine
0. Connect the drive
Be sure to have your drive connected to the PC or mounted. Without it, we can’t really do anything of course. You will find drivers when progressing in this tutorial, however those are the machine OS (Windows itself) and you wouldn’t want to format that? Though if you want to format your C:\ drive, that’s on you, I won’t take responsibility on it.
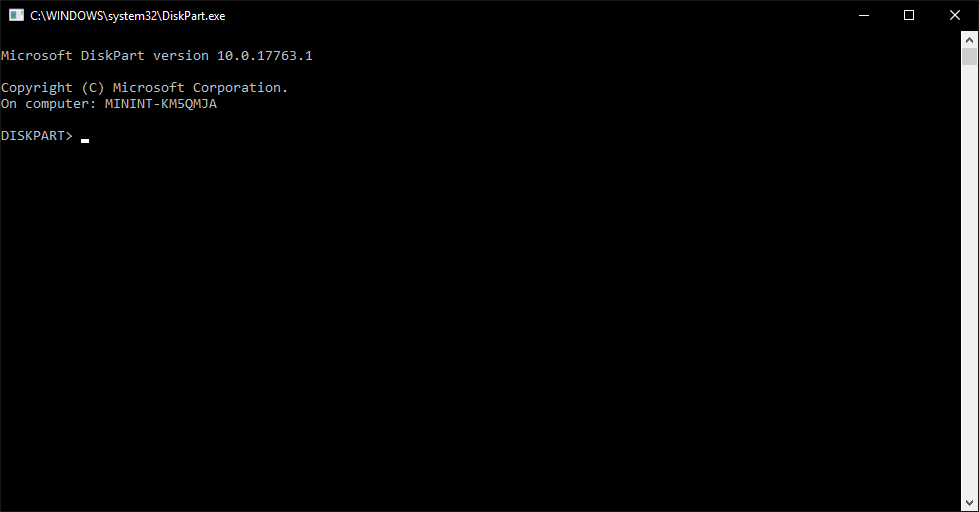
1. Open DiskPart
The easiest way to get started is by pressing Windows Key + R and typing in DiskPart in the run.exe window. Simply press enter after you’ve typed it in and a new window should pop up.
DiskPart requires Admin privileges, so remember to do this on a computer that has this permission.
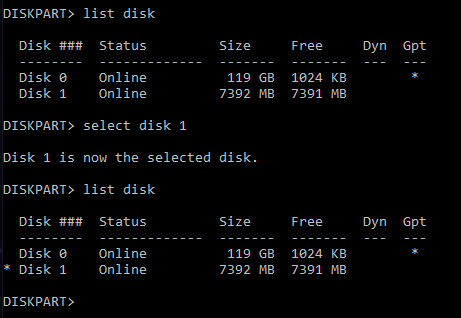
2. Find your drive
To start off, type in this window list disk to see if you can spot your drive. It should be really simple if you remember how much space it has. If you have issues with finding out how much it had, just remember that the Gpt with * on it is your primary disk, which is your OS, so don’t touch that one.
In this example, the drive is defined as “Disk 1”, so then you would have to type select disk 1 and the DiskPart software would select it as the main target for this session. To confirm that this was done correctly, type in list disk again and see if “Disk 1” (yours might be something else) as a small * before the name of it.
3. Cleaning the drive
Now that the selected drive is confirmed as the right one, type clean and it should start cleaning the drive fully. This includes partitions and files, so be sure to copy anything if you’re interested on recovering some of your files from it.
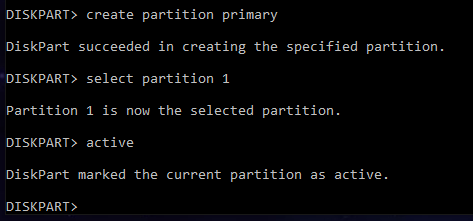
After the clean has been done, type all of these three commands in the correct order:
create partition primaryselect partition 1active
If you’ve done this all correct, you should have a similar result as the image below.
4. Making the drive usable
The first and only partition has been made, so now we can finally start giving this drive a format type and a name to whatever we desire. There are two types of commonly used formats, named NTFS and FAT32. If you plan to use the drive on any older computers or making a bootable drive, please consider to use FAT32, else if this is just a normal USB that you’re going to have on any Windows 7 on later (Mac and Linux too), go with NTFS, specially if the drive is more than 0.5 TB.
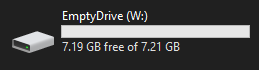
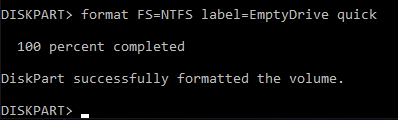
To give the drive a functional format and name, type the command format FS=NTFS label=EmptyDrive quick. You can replace the FS=NTFS with FS=FAT32 if you want the other format instead. When this command is done, you should finally have a bootable drive again as shown bellow.

4.2 Assign letter (Optional)
If you need to give the drive a new letter instead of the normally known alpabetic order, do the command assign letter=W and replace W with whatever you desire to have with it. Doing this will show the drive as usual but with a new letter in front now.